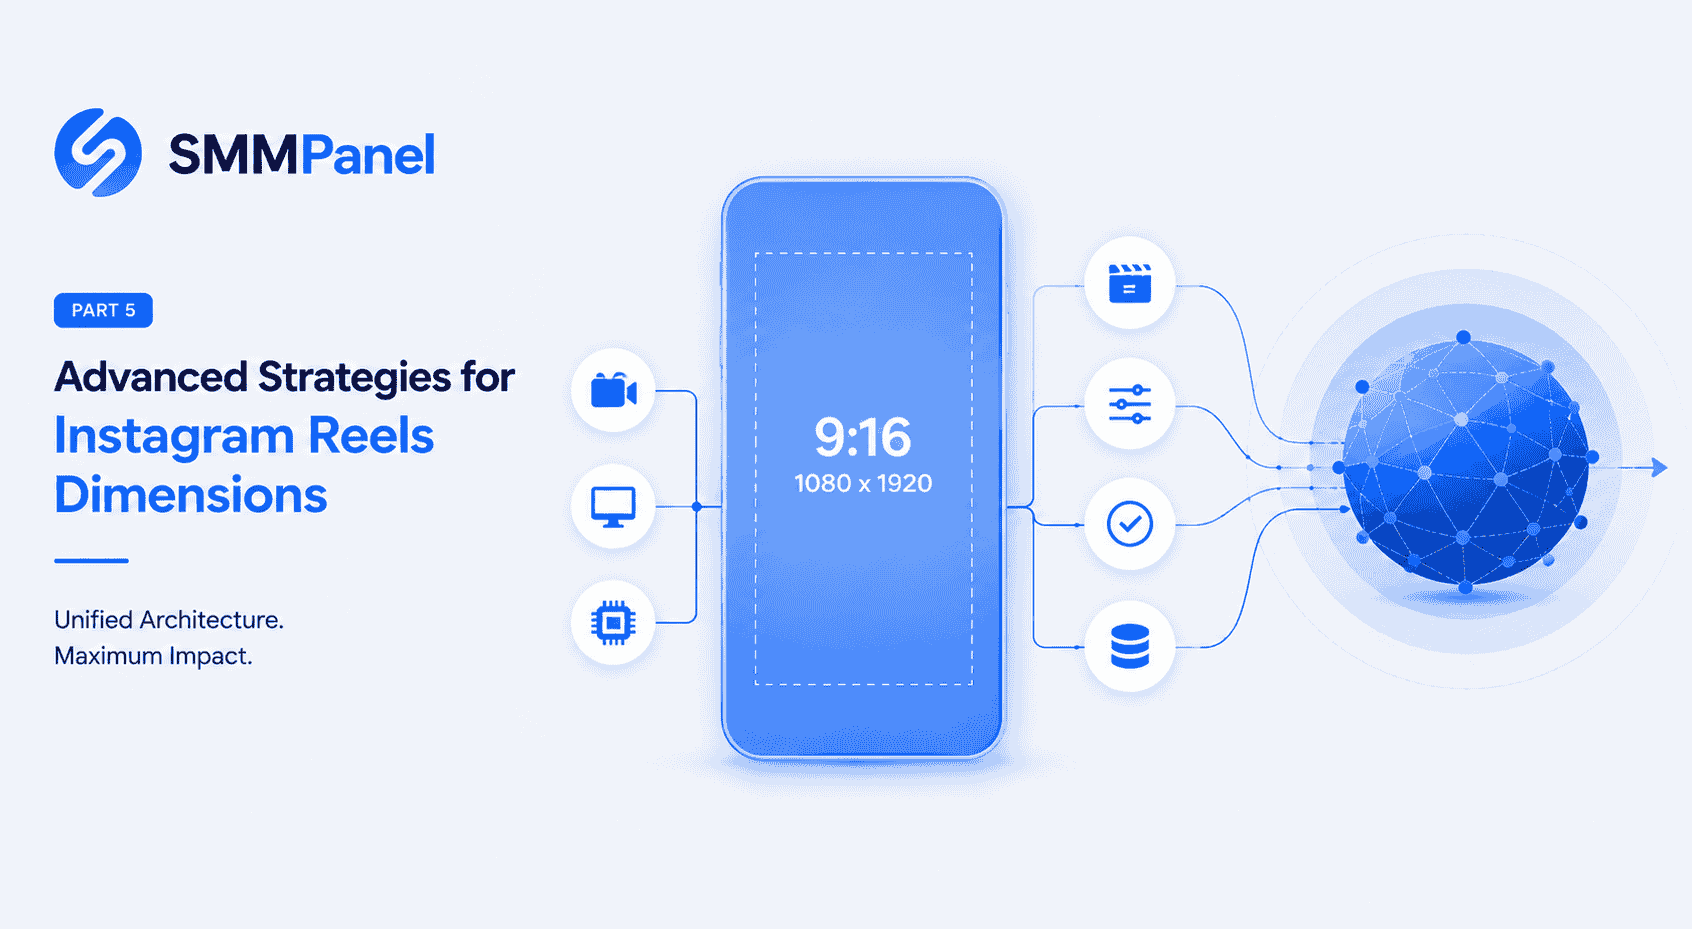
A Complete Reels Production Workflow
A useful Reels workflow connects the brief, source footage, edit, export and publishing checks. Agree on the intended composition before filming, then give editors a shared checklist so they can catch cropped subjects, unreadable text and inconsistent color before approval.
The Instagram Reels Dimensions Optimization Guide introduces frame dimensions. Part 2 discusses framing and cover crops, Part 3 covers interface overlays, and Part 4 discusses export quality and color handling.
This final installment brings those production topics into a repeatable handoff from camera to published Reel. Use it to prepare consistent assets and keep a record of what was published and how it performed.
Plan the Capture and Editing Canvas
Before filming, decide whether the project needs a dedicated vertical composition or must also supply landscape versions. Leave enough room around the subject for the intended crops, and record a short test to check framing, lighting and sound.
A 1080-by-1920-pixel, 9:16 canvas is a practical vertical editing preset. Set the project dimensions deliberately, then scale and position each source clip to suit the composition. Treat the preset as a production choice rather than a universal upload requirement.
Keep the highest-quality source files available for later edits. When adapting high-resolution footage, inspect the exported result for soft text, edge artifacts and lost detail instead of assuming that the source resolution alone determines the final quality.
Compose for the Vertical Canvas
Vertical framing gives a subject a different amount of space from a landscape composition. Position faces, products and captions so the viewer can understand the scene without searching across the frame.
For landscape source footage, choose the treatment shot by shot: reframe around the subject, use a designed background, or create a separate vertical edit. Watch the full clip to check that movement does not carry important content out of view.
Preview titles and subtitles with the publishing interface visible. For paid placements, Meta’s Reels ad guidance includes vertical creative and safe-zone tools. Use the preview for the actual placement you are preparing, and check each destination separately when adapting a video for other platforms.
Check the Export Before Publishing
Keep an export checklist with your project template. Record the intended dimensions, frame rate, color handling and upload method so another editor can reproduce the approved version.
Use a format supported by your chosen publishing method and review its current requirements before exporting. Render a short sample with movement, captions and audio, then compare it with the editing preview. If it looks soft or sounds distorted, adjust the export and test again before rendering a batch.
Check color and brightness on the devices available to your team, particularly when working with HDR source footage. Review the uploaded result as well as the local file, and retain an approved master for future revisions. A shared preset helps make the workflow consistent; it does not bypass Instagram’s processing.
Publish, Measure and Improve the Next Reel
Record the approved creative, cover, caption and publication time for each Reel. After publishing, confirm that the framing, subtitles and sound appear as intended.
Meta describes its recommendation systems as combining multiple predictions about what people may find relevant. File formatting or purchased engagement does not establish that a Reel will reach Explore or achieve a particular level of distribution.
Review the audience response against the purpose of the campaign. Compare similar posts over a consistent observation period and record what you changed, such as the opening, edit or cover. Keep purchased activity separate from organic performance in client reporting so the results remain interpretable.
Manage Service Orders with SMM Trust Panel
If your agency also handles social media service orders, use SMM Trust Panel to review available options and track orders. Choose from the current service categories and check the selected listing’s requirements, rate and conditions before quoting a client.
The API documentation describes service retrieval, order submission, status checks and balance checks. These operations can connect order administration with your own reseller system. Keep the order ID and selected service details with the client record.
Use the production checklist for video quality and the order record for service delivery. Evaluate campaign outcomes separately: order completion is not evidence of organic reach or a financial return.
Frequently Asked Questions: Reels Export and Publishing
What export settings should I use for an Instagram Reel?
Start with a vertical project suited to your composition, then use an export format supported by your chosen publishing method. A 1080-by-1920-pixel canvas is a practical editing preset. Check the current upload requirements and review a sample for image, text and audio quality.
What aspect ratio works for a vertical Reel?
A 9:16 composition is a useful starting point for vertical creative. Adapt landscape clips deliberately, keeping the main subject and captions readable. Preview the final framing and interface overlays before publishing.
How should I choose the frame size in pixels?
Consider the source footage, intended composition and requirements of the publishing method. A 1080-by-1920 project provides a 9:16 canvas, but the pixel dimensions alone do not establish the quality of the uploaded video. Inspect the export and published version.
How large should the exported video file be?
Check the current file-size and duration limits for the app, API or scheduling tool you will use. Then choose supported export settings that preserve the detail and sound your video needs. Test the intended upload workflow before preparing a batch; do not treat one file-size target as a guarantee of processing speed.